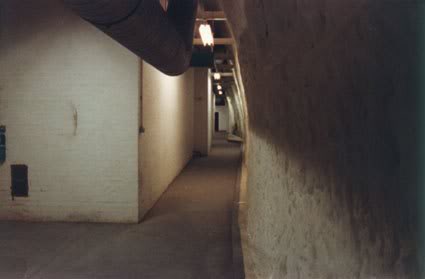
On the previous page we finished in the Water Supply Room.
We now leave the Water Supply Room and head back into the RGHQ
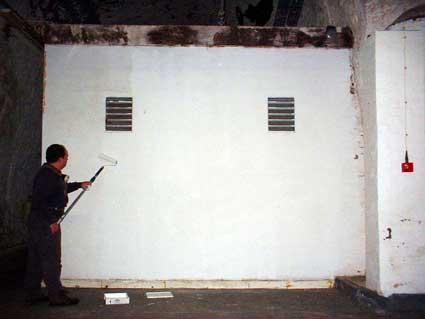
Turn left at the end of the previous corridor to see a guy treating and painting the wall. The passage you just came down can just be seen on the left of the photo.
There are more photos of this area somewhere. If I find them I'll add them here. For example I'm sure we have a shot of the area directly behind us
/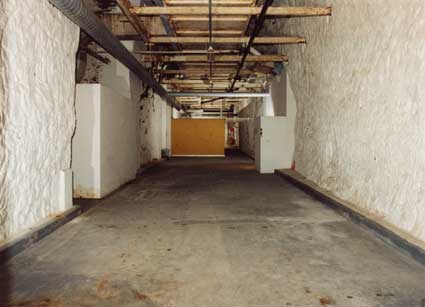
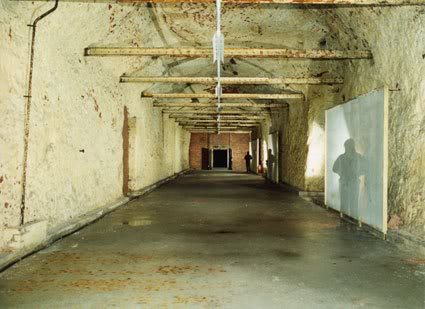
Turn to the right to look back at Second Avenue. On the left is first the medical centre and then the canteen. On the right the female dormitory
Turn to the right to look back at Second Avenue. On the left is first the medical centre and then the canteen. On the right the female dormitory
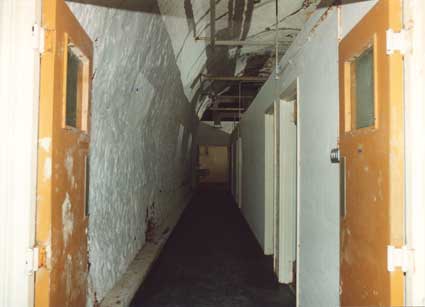
The entrance to the medical centre. Along the right hand side these rooms were probably small wards.
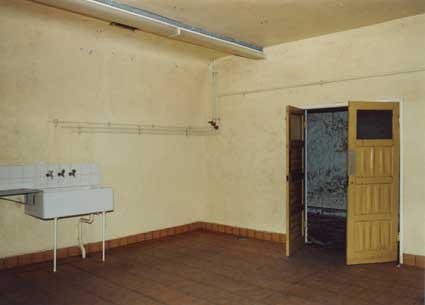
Continue to the end of the corridor and into the surgery/operating theatre.
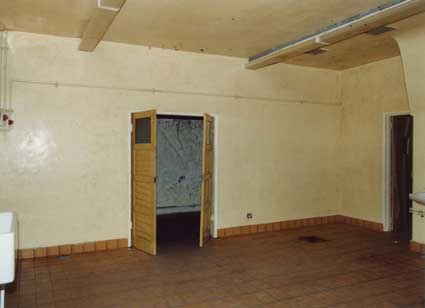
Another view of the surgery. The door on the right is a toilet. We can
continue through the double doors ahead.
This lobby is a dead end. Off it there is a toilet/sluce room and what was probably a linen store.
Back to Second Avenue.
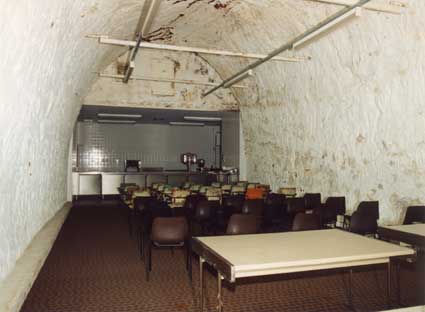
The next left leads into the RGHQ's canteen. Here laid out ready for a tour. The tables and many of the chairs are the original ones. Some of the tables even still had their original packaging!
I am still trying to locate photos of
the women's dormitory, so for now we will continue past and look north
towards Adit B. You may remember that we came through the door on the
right earlier. Behind us are the P.S.A.'s offices. Again I am trying
to locate photos to add. For now we will continue straight ahead.
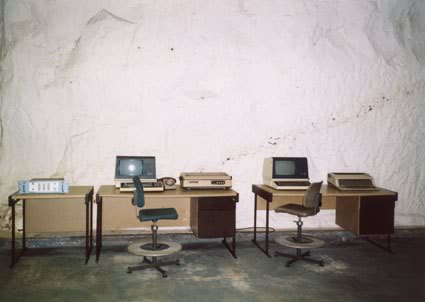
As the corridor opens out again we see some of the exhibits. The two chairs and the small table came from another cold war secret site known as Anchor. If we go through a doorway just to the left of the exhibits we enter the back of the kitchens.
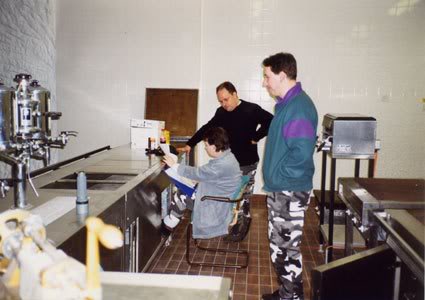
Here's the crew in the kitchen preparing for a tour. They are facing into the canteen that you saw earlier.
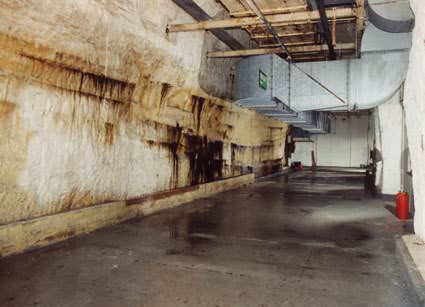
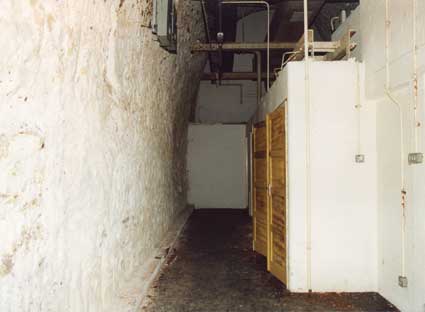
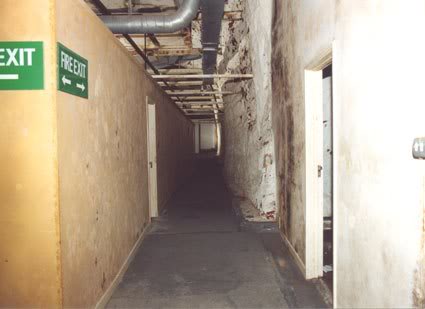
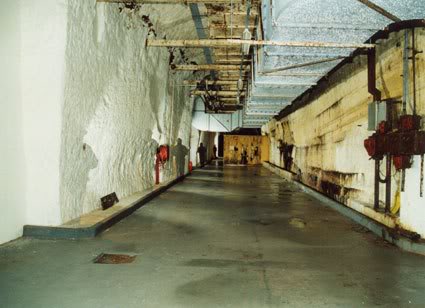
Here we have moved well down First Avenue and are looking east towards where First Avenue was bricked off to form the 1980's RGHQ. You can see areas the other side of the wall in the North of Tunnel 4 section. To the left at the end is the ventilation plantroom.
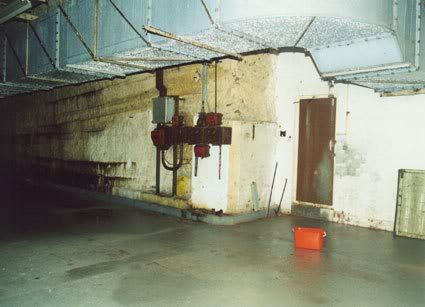
The entrance to the ventilation plantroom and Adit C.

Compressors for the dehumidifiers. We can continue through the door on the left.

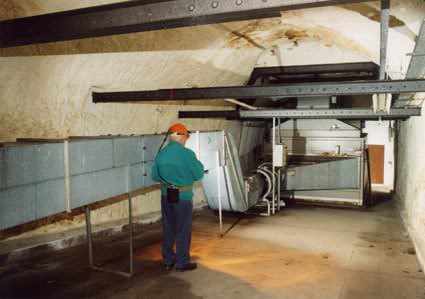
Here is the main AHU. Filtering/ dehumidifying and recirculating the air for the RGHQ.
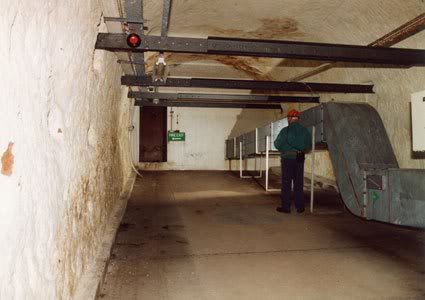
Beyond the AHU. Just out of shot is a small fan which assisted with bringing in fresh air. Ahead Malcolm is looking towards the first of 3 airlock doors to the outside at Adit C.
We have now turned around to look back past the AHU. The fan I mentioned earlier can be seen on the left, just before the main AHU body.
Having come back out of the ventilation plantroom. We can now look right, back west along First Avenue towards Adit B.
From the same position you move forward to look through this section towards Second Avenue. This section is a bit of a mystery. We know that in the 1960's RSG it would have been occupied by the Army, Navy and RAF liason teams. In the 1980's RGHQ access was kept open, but its purpose is unclear.